Welcome to our earthship Earthship Get Started Book Recently Asked Questions The Build Gallery Earthship in the news Diary Recipes Earthship Living Ethical Fashion Links Books Contact us  |
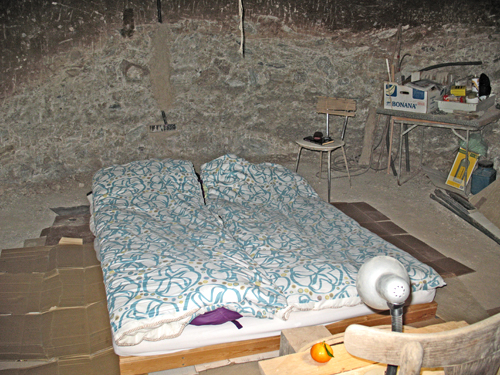
December 2013As another year rushes to an end we've come to realise that 2013 isn't going to be the year we move into the earthship, ho hum. BUT we're so close we can almost smell it! We sleep in the domed room whenever we're there working. Even though the unfinished floor is very dusty it's a lot warmer than staying in the caravan. Despite the disappointment of not finishing, we have had a very productive december, spending 12 days in total working on the 'ship. The main things we need to finish before we move in are the walls, floors and getting a toilet and the photovoltaic panels installed. So, to that end, here's our progress...
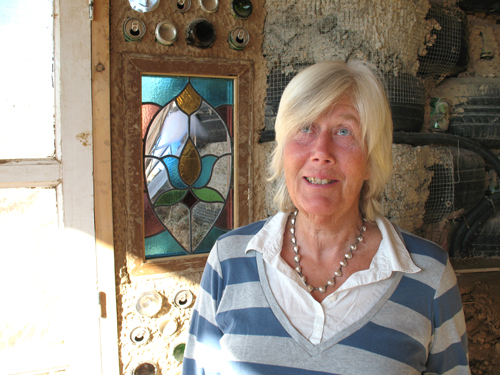
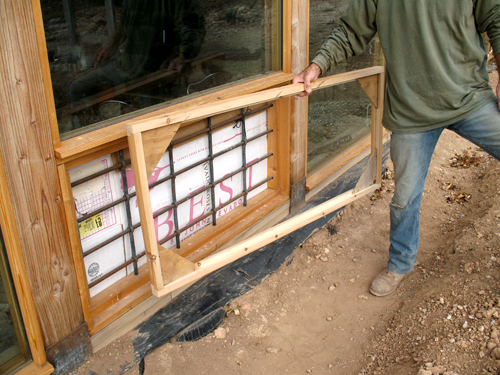
Filling in the holesI installed the two stained glass windows in the entrance walls. And managed to persuade Maggie, our friend who kindly donated these beautiful windows, to be photographed next to one of them. Dave has made the frames for the opening front face windows, the glass has been ordered and will hopefully be with us soon.
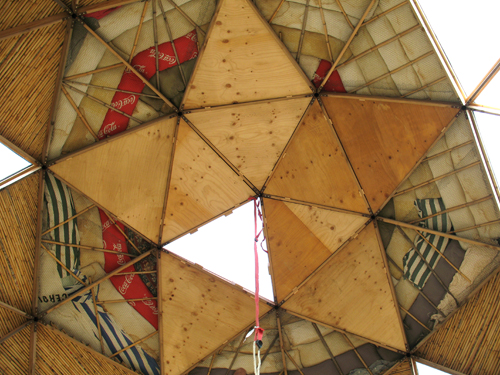
Seeing starsWe had a few large sheets of plywood left over from roof work which Dave cut down and fitted into the dome roof. We'll eventually paint these and, if necessary, stuff more insulation behind them. Although this wasn't an essential job we had nowhere else to store the sheets so it made sense.
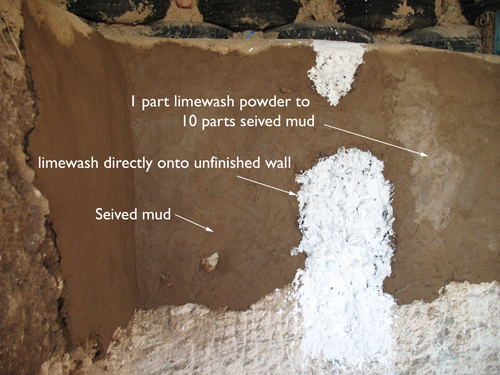
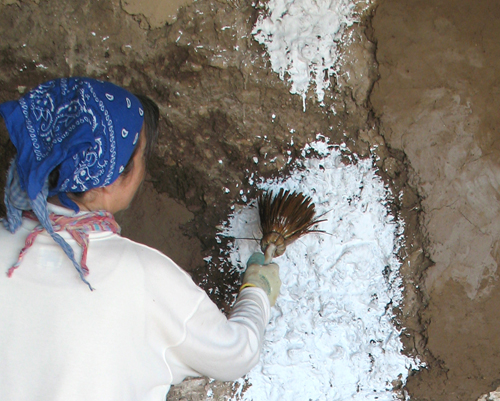
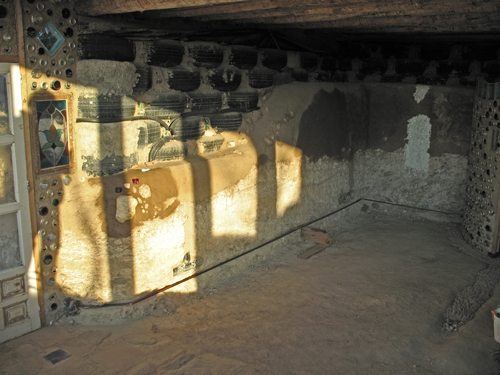
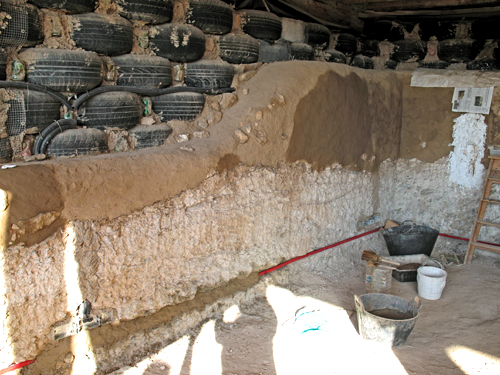
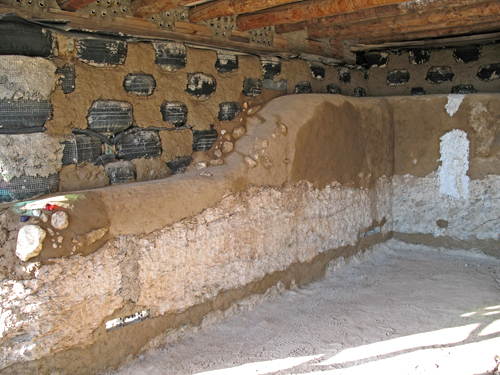
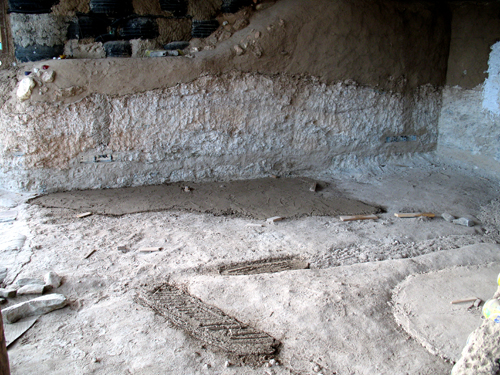
Wall finishingThe house we live in at present has a mixture of wall finishes - some new and smooth, others old and very rustic. After living with these walls for almost 12 years the ones I prefer are the bumpy, non straight rustic ones. It's just as well that they're easier to do! The pictures below show the test wall I've been using to try out techniques. The bare walls have two very different layers - a mud layer above and a chalky/rocky layer below. I think we're going to do a seived layer of wet mud onto the mud layer just to smooth it out a bit. Then limewash straight onto the chalky layer below.
PlumbingTo get the toilet in we needed to do some of the plumbing to get water into the bathroom. Dave has taken this from just outside the front door to beyond where the toilet will be. It's copper pipe covered with plastic conduit to protect it from the wall. He pressure tested it for leaks then I mudded it all in.
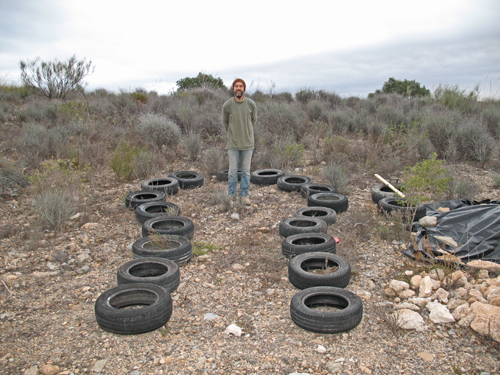
The two pics above also show the progress we've made on the walls - covering the top layer with wet sieved mud and doing the 2nd stage tyre in-fill. ElectricityDave has been doing a lot more investigating into the best way to produce our own electricity. We had thought that wind power would be good, but after hearing how this hasn't worked out very well for others we've decided to go with solar panels. After talking to a few installers of these systems in our area we arranged for Phil to come in and do a site survey. It was good to know that where we had planned to put the panels was ok, all we need to do now is prepare the ground for the panels and battery house. This is where we hit a bit of a downer. We'd always planned to do the battery house with tyres part dug into the ground and a domed roof so it blends well with the rest of the buildings and the surrounding area. But the thought of having to thump nearly a 100 tyres tipped us into despair - it'll take weeks to finish!!! I spent ages looking into alternatives to tyres, then my brother suggested pallets which we liked the idea of. Looking for pallets at the local co-op factory we found large plastic containers that were being thrown out so we tried filling those with earth. This works well and might be a good alternative to tyres for the small battery house, but it would still take a long time. Even doing a pallet hut would probably take us a few days. SO, we're going to buy a small shed as a temporary measure - phew!
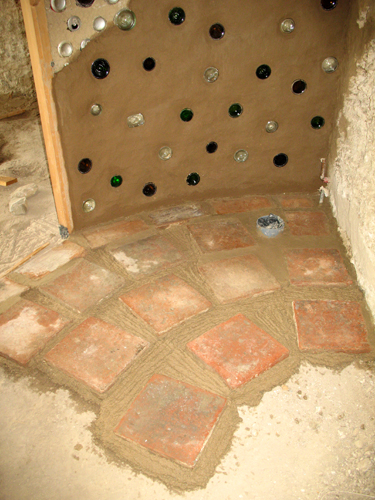
Floor and wall finishing

Add your comment |
   |
